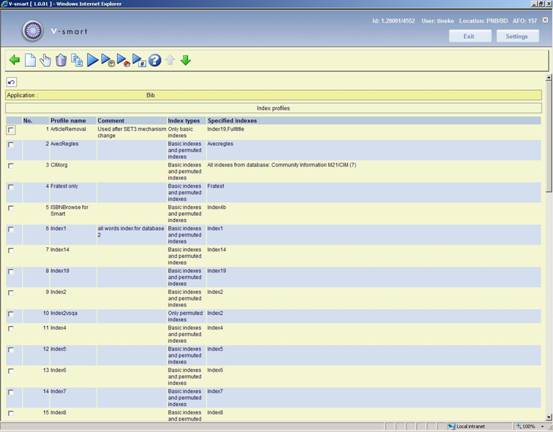
In AFO 157 bibliographic indexes can be built or rebuilt. When you choose this AFO a list of defined indexing profiles is shown:
: use this option to create a new profile. See section 157.1.1.
: select a profile and then this option to view/modify the details. See section 157.1.1.
: select a profile and then this option to delete the selected profile. The system asks for confirmation.
: select a profile and then this option to create a new profile based on the settings of the selected profile.
: select a profile and then this option to start the indexing. See section 157.1.2.
: with this option you can view a list of previous indexing runs. See section 157.1.3.
: with this option you can rebuild the shelfmark index. See section 157.1.4.
: with this option you can rebuild the inventory number index. See section 157.1.5.
: use this option to create a new profile. After selecting this option the following input form is presented:
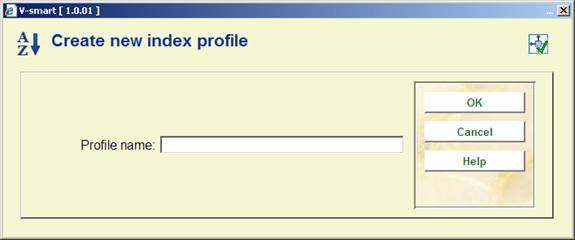
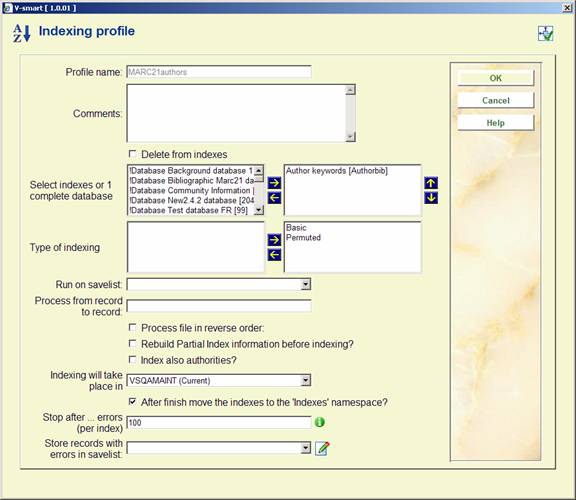
Enter a unique profile name and click , the following input form is displayed:

Profile name: protected field, once assigned a profile name cannot be changed.
Comments (optional): to denote what the profile is for.
Delete from indexes: if this box is checked, the process removes index terms. In combination with the savelist option it is therefor possible to remove certain records from indexes.
Select indexes or 1 complete database: Select the index(es) or database(s) you want to process by moving them to the right hand side.
Type of indexing: you can choose ‘basic' and optionally add ‘permutated'. Basic will index the terms as found in the records. ‘Permutated' applies “fuzzy logic”. This means that if a title contains “NETHERLANDS”, ‘basic' will index the string “NETHERLANDS”, and ‘permutated' will also index strings such as “NEHTERLANDS” or “NETEHRLANDS” Usually you will select both options.
Run on savelist: this option enables you to re-index only a previously made selection of records.
Process from record to record: this allows you to specify a range of records to be indexed.
Process file in reverse order: this allows you to start indexing at the highest record number instead of the lowest. The advantage is that during the indexing process the most recent titles will be available for searching first.
Rebuild Partial Index information before indexing: this is of course only relevant if you use partial indexes. For each record information on the relevant partial indexes is stored first. Re-indexing of partial indexes is only possible with a complete re-indexation, not with the re-building of one or more separate indexes.
Index also authorities: this parameter ensures that the authority records linked to a bibliographic record will also be indexed.
Indexing will take place in: indexing takes place in determines the namespace where the index must be stored. In the dropdown list you can usually see a namespace with ‘Current' in brackets after it, this is the one you would normally choose. If you wish to index in another namespace, please contact Infor.
After finish move the indexes to the 'Indexes' namespace?: this parameter allows you, in combination with the previous one, to build indexes in a different namespace and only move them to the production namespace once the indexes are completed. The advantage of this is that the old indexes will remain available until the new ones are ready.
Stop after … errors (per index): this is the error margin that is applied during the indexing process. Due to inconsistencies in the configuration errors may occur during indexing. It is not useful to force indexing of thousands of records, so set this margin at 100.
Store records with errors in savelist: this allows you to create a savelist with the error messages which you can later retrieve and check.
After completing the form the new profile will be displayed in the list of defined profiles. You can delete a profile without negative consequences; a profile only says something about the building of an index, it does not contain the index itself.
: select a profile and then this option to view/modify the details. See above for an explanation of all the fields on this form.
: select a profile and then this option to start the indexing. You will be presented with the following input form:
See section 157.1.1 for an explanation of all fields.
Click after completing the form above and the following message will appear:
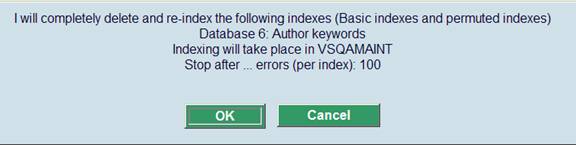
Note:
When starting the build of an index, the existing version of that index will be deleted.
After acknowledging this window you will be offered the standard input screen for running processes. You have the choice between ‘online' (not recommended), “in batch” or “in memory”. With the last option you can schedule the indexing at a specific time. pear in mind the time the indexing process will take in relation to other scheduled jobs on the system like rebooting for backups (which would interrupt the indexing).
When you re-start an interrupted indexing process a message will be shown that this process was interrupted. You will be offered the option to continue at the point where the interruption took place or to start again at the beginning.
: with this option you can view a list of previous indexing runs. An overview screen will be displayed:
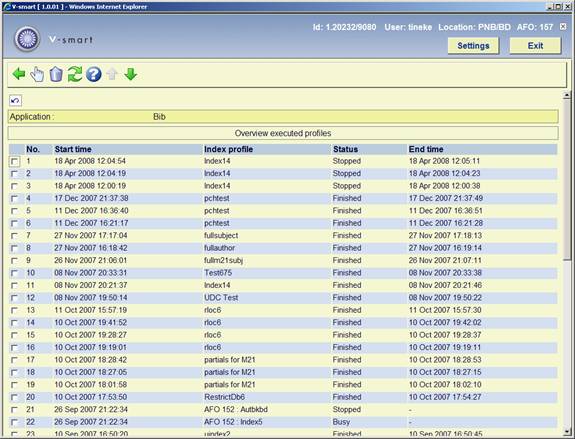
The display is in inverse chronological order of execution. The status can be "Busy", "Finished", "Not started" or "Stopped".
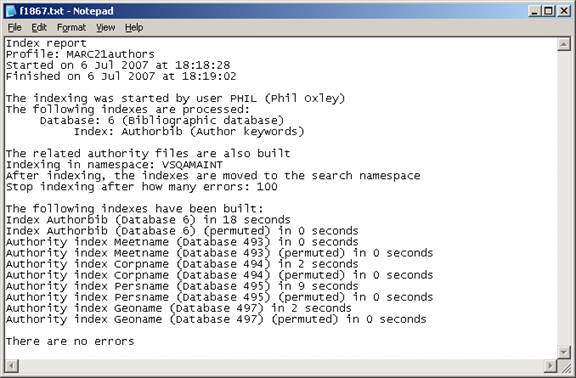
: Select a line and then this option for more details. A report will be displayed in a separate Window, for example:
: Select a line and then this option to delete it from the display and the history log. This does not influence the indexing itself.
: Use this option to refresh the current display.
Apart from Shelfmark as an index searchable from the standard search tab, there is a separate Shelfmark index that is searchable on the 2nd tab of AFO111 in the special index section. In the normal cause of things, there is no reason to rebuild this index. But it may be necessary after loading records with shelfmark information.
Using this option will clear out the Shelfmark index and rebuild it for the entire database.
Note
When shelfmarks are updated, both the regular index and the special index are updated. The shelfmark index however is not updated when a bibliographical record is filed, like most other indexes.
: with this option you can rebuild the shelfmark index. After selecting this option an input form will be displayed:
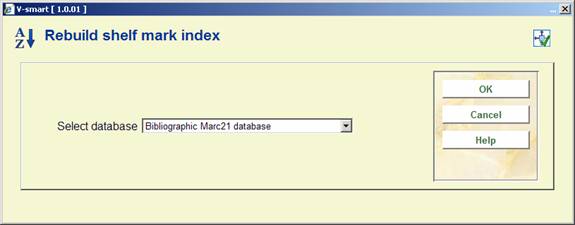
Select the appropriate database and click . After this the standard screen for scheduling processes will be displayed.
This is a separate option because the Inventory number index cannot be defined as a bibliographic index (like the others here). In the normal cause of things, there is no reason to rebuild this index. But it may be necessary in specific circumstances.
Using this option will clear out the Inventory number index (searchable only on the 2nd tab of AFO111 in the special index section) and rebuild it for current circulation meta institution.
After selecting this option the standard screen for scheduling processes will be displayed.
· Document control - Change History
|
Version |
Date |
Change description |
Author |
|
1.0 |
May 2008 |
creation |
|
|
2.0 |
January 2009 |
shelfmark can now also be built as bibliographic index; new option to rebuild inventory number index |
|